 severak
13.5.2021 12:48:40
severak
13.5.2021 12:48:40
For tape mastering service please contact me via email: rapezzel71@yahoo.com (Raffaele)
Also visit the Unexplained Sounds Group label for experimental music and streaming radio programs: https://unexplainedsoundsgroup.bandcamp.com/
Beyond the Nostalgia

I grew up listening to vinyl and cassettes; I’m not that old, but growing up all we had was vinyl and cassettes to listen to. The first time I recorded anything, it was on cassette. I remember my dad letting me use his Hi-fi to tape some of our vinyl records and things from the radio when I was a child and when I grew up and wanted to record some music with friends, we all pitched in and bought a 4-track cassette portastudio. After bouncing tape tracks on that, and using one of the tracks to print timecode so it could trigger playback on my sampler, the mixdown went to another (stereo) cassette deck. That’s really when I became interested in getting the best sonic fidelity from cassette tape.
So why go back to using cassettes? It’s 2014 and today is the second year “Cassette Store Day” is observed around the world; why is this format all of a sudden making a (albeit small) comeback? I think people are becoming more interested in having a tangible product. Tapes are compact enough, are portable and require less maintenance than vinyl as a playback medium. Those who are getting into recording with tapes are realizing that there are many variables involved, and it’s possible to use the limitations of the format to get a unique sound.
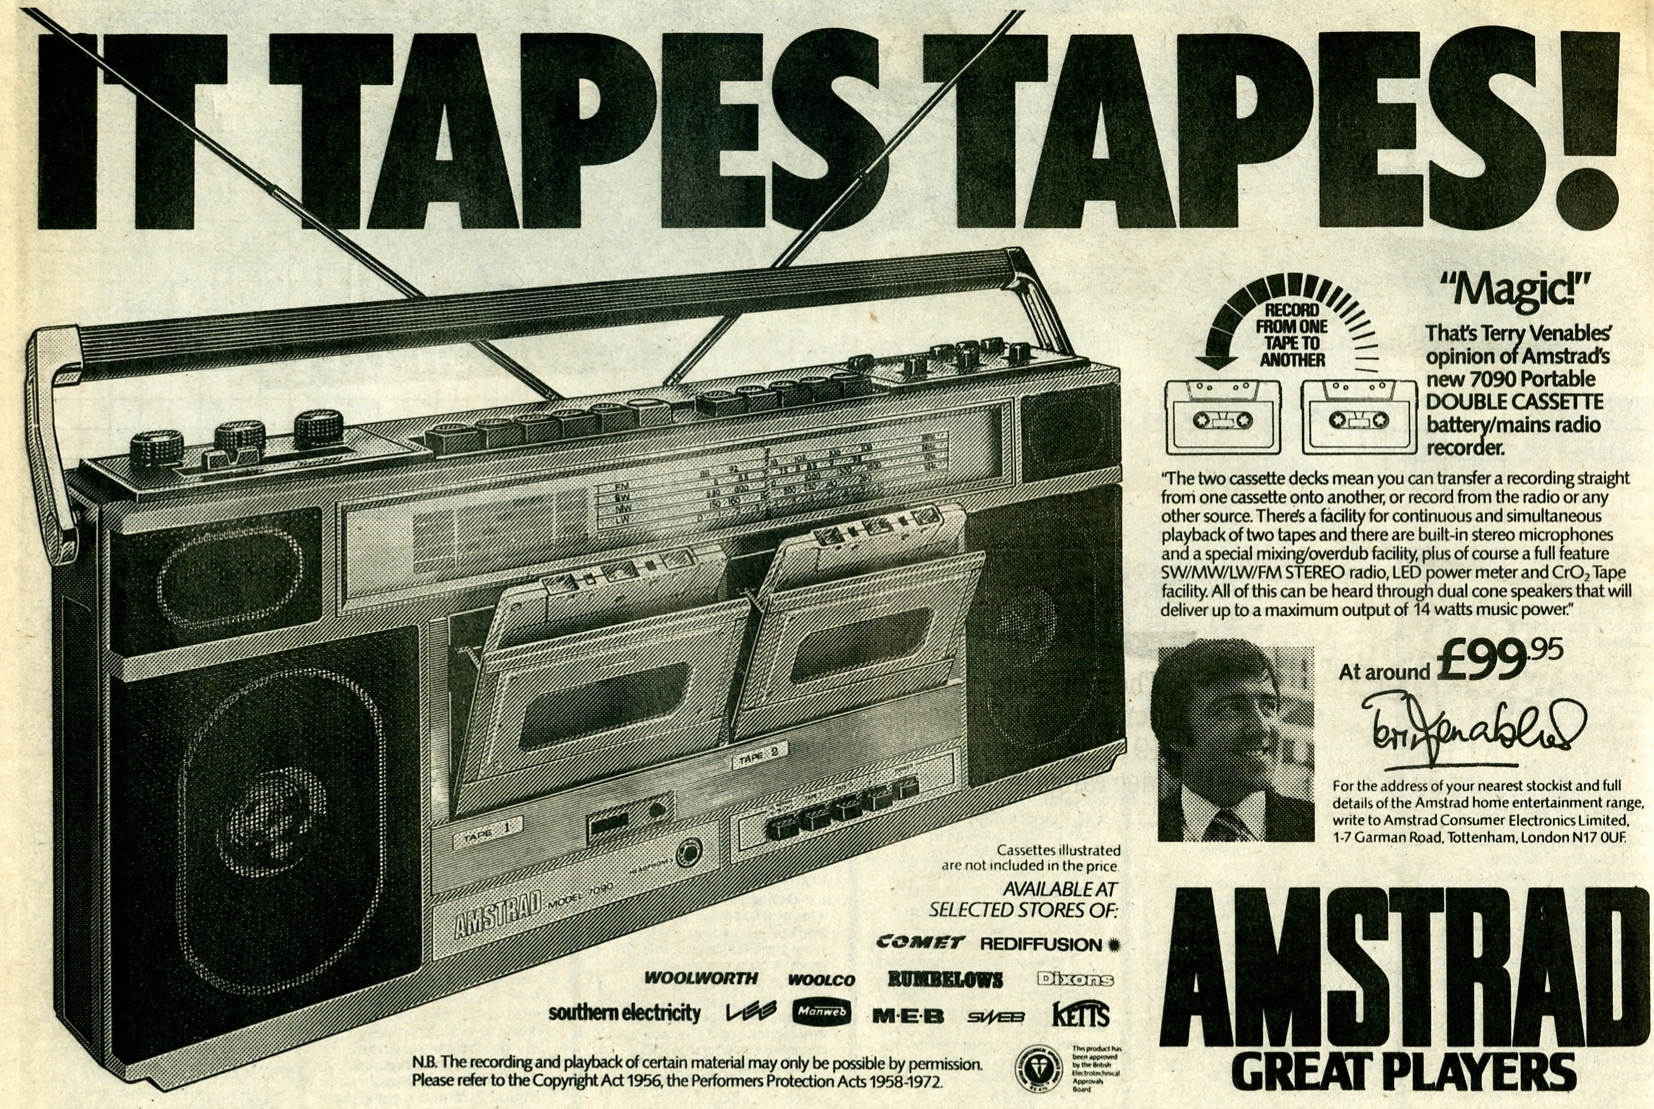
Those new to cassettes are also finding out that it’s an inexpensive format to record with and reproduce. You can get tapes made for a lot less than Vinyl and CDs. For those who don’t currently own a cassette deck or walkman, you can find a cheap one in the used market. A good turntable in comparison, will usually set you back quite a bit more than a portable cassette player and good luck making it portable. I’ve seen some of the really cheap Sony cassette players on eBay sell for as little as $5 (although I seriously recommend those without one do a little bit of research and get something better than these low-quality players; you can score a very decent portable tape player for not much more, trust me).
The limitations of the format can give your project a “throwback” feel, and just like vinyl, you can’t replicate the sound of cassette tape effectively in the digital realm (but I wouldn’t be surprised if a plug-in developer comes up with some sort of emulation if cassettes keep getting popular). If you want your project to sound like it’s on vinyl or cassette, you have to put it on those formats; it’s similar to why some people still take pictures with film to this day. Technically, digital pictures are cleaner and sharper than film, but aesthetically, some people like the look and feel of photographic film. Like film, there are many variables that affect its quality; cassettes don’t all sound the same (different frequency response between types and the various formulas of tape that were produced and not all of them have an excessively “hissy” sound to them for example).
Mastering for Cassette (the right way)
If you’re going to create a master cassette to possibly be the source for cassette duplication, you should do it the right way. I wish I could tell you it was as easy as heading down to the nearest Goodwill, spending $30 on a used deck and recording your tape as hot as possible. You will get saturated recordings on cassette, sure, but it’s probably not going to sound great (yes, cassettes can sound good!)
My approach to mastering a cassette is to aim for a similar level of quality that was achieved in the peak days of the media. It was typical for Mastering Engineers then to audition a cassette after mastering to it, and make tonal and dynamic range adjustments as necessary to make the cassette recording sound as good as possible before it hit the bin loop duplicator for mass production.
Up until the early 1990’s, cassette bin loop duplicators were analog devices and they used a cassette master tape as the source, often this source master tape was “emphasized” a bit for the format. Digital bin loop duplicators started to become popular in the early to mid 90’s and these used a digital source, usually from DAT or hard drive using first generation ADCs/DACs. In the peak days of commercial cassette production, a degree of effort went into creating the source master cassette or digital source, since it was known that high-speed cassette duplication would degrade the quality of the tape copies to a degree and with the usage of noise reduction systems like Dolby B, emphasis was made between 4k – 10k to make up for the loss of frequencies in that range when encoding the source tape with the Dolby B NR system. Since it’s hard to predict how the NR profile will affect each recording, it was typical to make adjustments after a few test recordings.
These days, cassette duplication services will accept digital files (.wav, .aiff, .mp3, etc.) They should have an engineer on hand to make sure the cassettes that are being made sound as good as possible, but chances are they’ll just transfer your files “flat” using your source files. Ideally, they should make frequency adjustments to the source as needed if the tapes that are being made don’t sound optimal. If we’re talking about the sound of throwback Hip Hop tape releases, consider that the dynamic range of those older albums was bigger than the releases of today; people weren’t smashing levels as much as we do these days, so that’s going to have an impact on the way your tape will sound.
When mastering to cassette, I use the full resolution 24 bit masters to feed the recording deck an unbalanced line out from my mastering console, and drive the input to my cassette deck to allow the cassette format’s saturation characteristics to give the material that “crunch” that you might be familiar with, especially with older cassette releases from the 90’s, for example. The saturation that’s achieved on tape will help give it a sound of cassettes from back in the day and it will sound slightly different than your digital release.
On the processing side, it’s always useful to make test recordings and see what they sound like afterwards, and tweak your processing chain to get the best sound for this format. I usually like the way recordings sound with a little bit of compression focusing on clamping down percussive peaks slightly, and the UAD Fairchild is one that I like often. The UAD Neve 33609 sounds good as well, but it also depends on the material. Brightening the mids and highs is also something I’ll do, and for that my go-to is usually the UAD Pultec Pro. This is just a starting point for me, so if this doesn’t sound right I will try different bus compressors and EQs, then make a few recordings on tape and settle on whatever sounds best.
Overloading a cassette deck’s circuitry isn’t the same with all available cassette recorders out there. Higher end Hi-Fi and professional decks equipped with Dolby HX Pro are able to record hotter levels (about 6dB) on tape without added distortion, this also means we can saturate more tastefully. I have a restored Tascam 122 mkII recorder, which was a typical workhorse mixdown deck in many Mastering studios back in the days when record labels were interested in putting out the best possible sounding cassette releases. Many of the tapes I have to this day have a Dolby HX Pro logo on them, to suggest that the cassette master was mastered on a deck equipped with it and many were also encoded with Dolby B (although as tapes age, I find they sound better with Dolby B disengaged, even though they might have been encoded with it).
Dolby HX Pro was considered to be a major update to the compact cassette format when it started to be used in the early 80’s. Playback decks don’t have to have HX Pro built in to be able to play tapes that were recorded using this technology; it’s a process that happens during recording. Essentially, cassette decks equipped with HX Pro are able to produce louder cassette recordings with less noise than those that aren’t. Some high end consumer recorders like the Nakamichi Dragon, considered by many to be the best consumer cassette recorder ever made, didn’t use HX Pro because the quality of the recording head was so good that it could achieve similar recording levels with minimal noise and distortion. However, unlike professional-grade decks like those made by Tascam, bias selection isn’t automatic on the Dragon and it must be set manually for each tape type; cassette decks that automatically adjust bias for each type of tape do so by identifying a series of indentations on each cassette tape that is loaded. Scarcity of parts for servicing and cost of repairs (if you can find someone reliable that can do so) these days also make the Dragon not ideal for professional use.
Taming the Hissing Beast
Dolby NR (Noise Reduction) is an often misunderstood subject by many new to the format. Most consumer decks and portable players come with Dolby NR B. Many high-end consumer and professional decks often came with both B and C. For the sake of simplification, B reduces hiss during recording a bit less hiss than C, which extends the noise reduction frequency down to about 100 Hz. Both were part of an encoding (recording) and decoding (playback). If you record your tapes using B, the playback deck should also be set to B (and the same goes when using C). Commercial cassette tapes used the B profile, while C was aimed towards home recording gear. Fostex used the C system in many of its multitrack cassette and reel-to-reel recorders, so it was useful to have a stereo mixdown deck that was able to encode and decode both noise reduction systems.
Dolby B was developed in the late 60’s to help minimize tape noise. Dolby C was developed in 1980, and HX Pro came soon afterwards. By then, tape formulas had advanced quite a bit. As I mentioned earlier, not all cassettes sound the same and this is because there are different types, which are made with different materials that act as a magnetic element.
Before we go on to the different types of tapes, something that should be mentioned is bias. Bias is an inaudible, high frequency signal that is applied during recording. This signal is mixed in with the audio signal that is being recorded and moves it to the linear portion of the tape, so that the audio signal is recorded faithfully. The bias signal changes amplitude depending on the type of tape being used (lower bias for Type I, higher bias for Type II and even higher for Type IV tapes). Cassette decks either set bias automatically by reading indentations of the cassette shells themselves, or they allowed users to set the bias curve themselves, on these types of decks, there are controls usually labeled “normal” (for type I) “chrome” (for type II) and “high/metal” (for type IV).
Type I: This was the first type of cassette tape that was manufactured. The magnetic element in this type of cassette is gamma ferric oxide (commonly known as “ferric tape”). These kinds of tapes are usually labeled “normal bias” and tend to be noisier (more hiss) than Type II cassettes, but a lot of cassette tape enthusiasts prefer the sound of a well-made Type I tape for recording, like the Sony EF series, because it tends to warm up low frequencies in a way that Type II tapes don’t, and are able to record at slightly higher levels without saturation. High frequencies aren’t as bright as they can be on Type II tapes, which may be a desired effect depending on the type of music being recorded. When using one of the better Type I cassettes, it might be useful to use Dolby B (or C, which may produce slightly warmer recordings, but keep in mind what I said earlier about both NR profiles and their availability on consumer decks).
Type II: Developed not too long after Type I cassettes, this formula uses chromium dioxide and is commonly referred to as “chrome” tape. Type II tape is able to reproduce brighter high frequencies with less hiss, but it also reduces the response of low frequencies slightly. When using a high quality Type II tape, you may find that you’ll end up with better recordings when you don’t encode your recordings with a Dolby NR profile, and perhaps bump up the low end and the mids a little bit on your source recordings before hitting the tape.
Type III: This formula, known as “ferro-chrome” combined both “ferric” and “chrome” formulas on the same tape in hopes to get the best of both worlds: the better bass response of Type I and the better high frequency/reduced noise of Type II. The Type III had a short life span, from about the mid 1970’s to 1980. One of the main problems with it was bias; should you set your deck to normal (Type I) or chrome (Type II) bias? Those decks which set bias automatically would default to normal, and after a couple of years of consumers testing out this type of cassette (and manufacturers of cassette decks watching closely), they discovered some flaws, like the chrome layer of the tapes coming off with heavy use. They also discovered that when it came down to sound quality, the Type III didn’t offer an obvious improvement over the Type II cassette for those users that had decks that were able to adjust bias manually; many users felt that Type II, with its higher bias setting performed better. Manufacturers were reluctant to incorporate a middle ground bias setting for Type III in their tape decks because of the flaws being reported by consumers. They might have, if consumers would have bought into this particular type of cassette, but it was never popular and it struggled making worthy sales throughout its short life.
Type IV: Towards the end of the 1970’s, a completely different formulation of tape hit the market. This one used metal particles instead of oxides and consumers immediately saw a benefit from it. Known as “metal” tape, the Type IV was able to record even louder signals with less distortion in the upper frequencies than the Type II and the low frequencies also sounded better. This increase in quality did not come without some negative effects. Head wear was increased as the metal particles are more abrasive than oxides, and it was a bit more difficult to erase previously recorded material from it. The cost of these tapes was often more than double the cost of an average Type II cassette but it was worth it for a lot of users who heard the improvement in quality over the previous types of cassettes. It wasn’t long before manufacturers started including a metal bias selection in their decks, which happens to be an even higher bias signal than that which is used for the Type II cassette. It was definitely the best of all the types when it comes down to sonic fidelity.
After reading all of this, don’t you feel like giving your DAW a nice big hug? Isn’t it nice these days to just throw a good chunk of cash into a box with excellent Analog-to-Digital converters? Writing this article took me back to a time where you had to put in a lot of time and effort into getting decent recordings on cassette tape. I also remember lots of frustrating times with the format, like tapes stretching, dropouts and tapes being chewed up in the transport. I also remember what cassettes sound like when you play them loud through a nice system; the ones that were done right sounded excellent. With that, I can say that I see why this format is becoming increasingly appealing to artists, especially those that want a lo-fi feel from their recordings and are looking for that familiar vintage sound of the format.
Sometimes limitations inspire creativity, and the compact cassette tape format definitely had a lot of them.
Mastering to Cassette Tape
from https://sonologyst.com/2018/05/19/mastering-to-cassette-tape/